 Custer
 Why Birch Bay Is a Different Job Than Siding Ten Miles Inland
Birch Bay sits right on the water, and that changes what siding has to survive. A house in Custer proper deals with plenty of rain and shade-driven moss, but a house facing Birch Bay's shoreline also takes salt-laden air, near-constant onshore wind, and rain that doesn't fall straight down — it drives sideways into every seam, joint, and fastener line on the weather side of the house. Over years, that combination is harder on siding than almost anything else in Whatcom County.
We don't treat Birch Bay as a generic "coastal upcharge" line item. It's a different install: different fastening approach on exposed elevations, more attention to flashing detail, and a product that's actually engineered for moisture exposure rather than one that merely tolerates it.
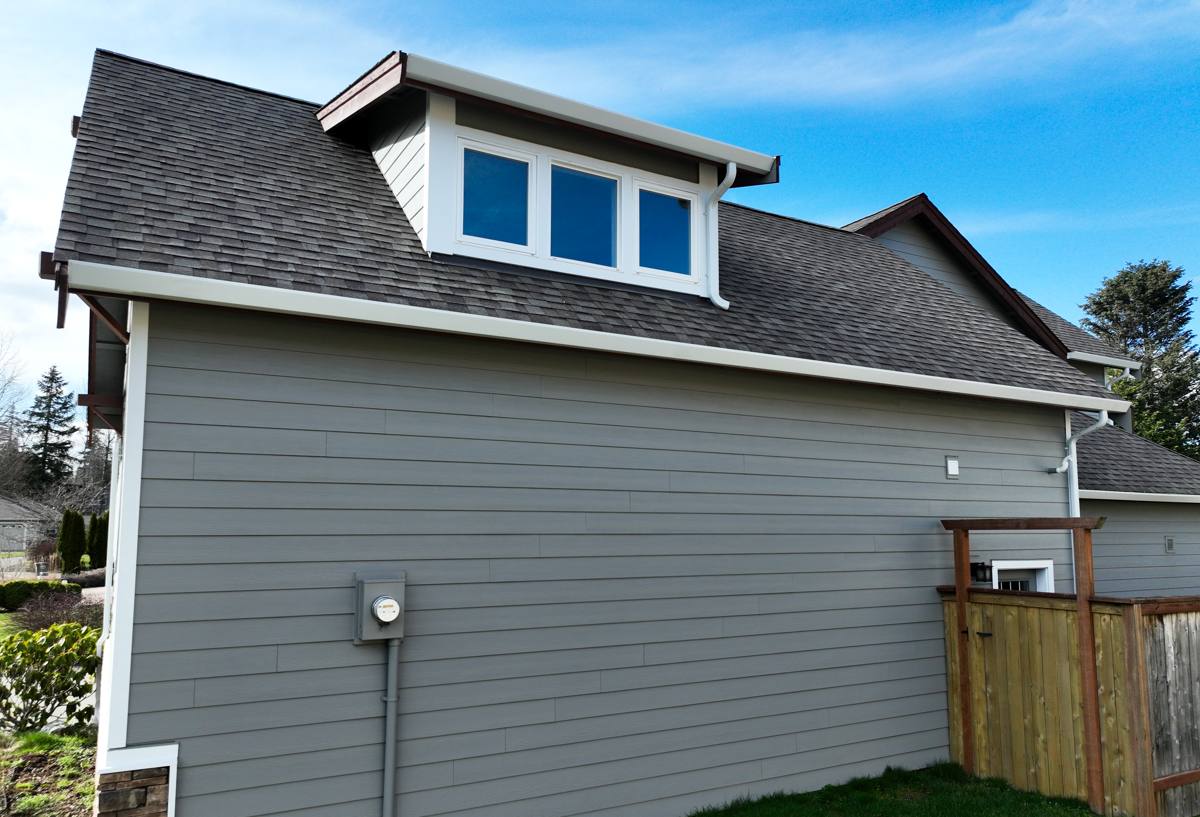
What Salt Air, Driving Rain, and Moss Actually Do to Siding
Salt air
Airborne salt accelerates corrosion on anything metal — nail heads, flashing, trim fasteners — and it settles into porous or poorly sealed siding surfaces over time. Products that rely on paint film alone for protection tend to chalk and fade faster near the water, and any exposed raw wood or damaged cellulose-based product edges near Birch Bay weather noticeably faster than the same product would inland.
Wind-driven rain
Straight-down rain is easy to shed. Rain pushed sideways by onshore wind gets forced up under laps, into butt joints, and behind trim if those details weren't built correctly the first time. This is where most siding failures actually start — not on the open field of the wall, but at the joints, corners, and penetrations.
Moss and algae season
Whatcom County's long wet season — realistically most of the year — keeps north-facing and shaded walls damp for extended stretches. Moss and algae take hold on any surface that stays damp and doesn't fully dry between rain events. Left alone, that growth holds moisture against the siding surface and, on products sensitive to sustained moisture contact, can contribute to long-term deterioration.
Why We Install Only James Hardie Fiber Cement Here
We standardized on James Hardie fiber cement for every job we do, including Birch Bay, because it's a cement-based product engineered to hold up to sustained moisture exposure without the swelling, softening, or rot risk that comes with wood-based siding products. It's non-combustible, it's manufactured with regional climate engineering (HZ5 for the Pacific Northwest), and its ColorPlus factory finish is baked on under controlled conditions rather than field-applied — which matters a lot for how well color and surface hold up against salt air and UV over time.
We won't put a wood-based composite or vinyl product on a Birch Bay home and call it a coastal solution. The house is too exposed for that to be the honest answer. We'll walk you through the reasoning in person if you want the full comparison, but the short version is: this climate is exactly the scenario Hardie's HZ5 line was built for.
What a Correct Fiber Cement Install Looks Like in This Climate
Fiber cement siding is only as good as the install behind it. In a wind-driven-rain environment like Birch Bay, the water management details matter more than the siding panel itself.
- Weather-resistant barrier installed continuously, lapped correctly, with no gaps around penetrations
- Rainscreen or drainage gap on exposed elevations so moisture that does get behind the siding can actually drain and dry
- Flashing at every horizontal trim piece, window head, and roof-to-wall intersection — not caulk used as a substitute for flashing
- Corrosion-resistant fasteners driven to Hardie's specified pattern and depth, not just "close enough"
- Correct field-cut sealing on any panel edge that's cut on site, since factory-sealed edges are part of what makes ColorPlus perform
- Proper clearance from grade, decks, and roof lines so siding isn't sitting in a wet zone by design
Skip any one of these and you can still end up with moisture problems behind a product that's genuinely built to resist them. The material isn't the weak point in most siding failures we see — the installation is.
Our Process for a Birch Bay Fiber Cement Job
1. Walk and assessment
We look at which elevations take the brunt of the weather (usually the water-facing and prevailing-wind sides), check existing moisture damage, trim condition, and flashing at windows and rooflines, and note any moss or algae buildup that points to chronic damp areas.
2. Tear-off and sheathing check
Old siding comes off and we inspect the sheathing underneath before anything new goes on. This is the point where hidden rot or old moisture damage gets caught — covering it back up without addressing it just resets the clock on the same problem.
3. Water management layer
Weather-resistant barrier and, where called for, a drainage gap system go on next, with careful attention to laps and seams on the elevations that take direct wind-driven rain.
4. Flashing and trim details
Every window, door, and horizontal trim transition gets proper flashing before siding installation starts. This is the step that most determines how the house performs in year five and year fifteen, not just at move-in.
5. Hardie panel installation
Panels go on to manufacturer fastening specs, with attention to gapping, caulking at true butt joints (not everywhere), and correct nailing pattern for the HZ5 product line.
6. Final inspection and walk-through
We walk the finished job with you, cover basic maintenance for a coastal property, and point out anything specific to your home's exposure.
Cost Factors for Birch Bay Fiber Cement Siding
Every home is different, but these are the factors that most often move the price on a Birch Bay job specifically:
| Factor | Why It Matters Here |
|---|---|
| Water-facing elevation exposure | Elevations that take direct wind-driven rain often need extra flashing detail and drainage gap installation |
| Existing damage from moisture or moss | Rot found at tear-off means sheathing repair before new siding goes on |
| Trim and detail complexity | Corners, window returns, and multiple roof-to-wall intersections all add flashing labor |
| Home size and story count | Straightforward square footage math, plus access/scaffolding for two-story sections |
| ColorPlus vs. field-painted finish | Factory-finished ColorPlus costs more up front but removes a future repaint cycle |
| Removal and disposal of old siding | Varies by what's coming off — vinyl, wood, or older fiber cement all haul differently |
Common Problems We Find on Older Birch Bay Homes
When we tear off older siding on a Birch Bay property, a handful of issues show up repeatedly:
- Caulk used as the only defense at window heads and trim joints, with no flashing underneath
- Siding installed tight to grade or a deck surface with no clearance, holding moisture at the bottom courses
- Moss and algae buildup on north and shaded walls that's been power-washed over rather than addressed at the water-management level
- Corroded or failing fasteners on wood-based siding from years of salt air exposure
- No drainage gap behind older siding, meaning any moisture that got in had nowhere to go and no way to dry
None of these are unusual for the area — they're just what happens over enough years in this specific climate when a product or installation wasn't built with it in mind.
Maintaining Fiber Cement Siding in a Coastal Climate
Hardie fiber cement with a ColorPlus finish is low-maintenance compared to wood or field-painted products, but "low-maintenance" isn't "no-maintenance" this close to the water. A simple annual routine goes a long way:
- Rinse the exterior once or twice a year to clear accumulated salt residue, especially on water-facing walls
- Check caulking at trim joints and penetrations annually — caulk is a maintenance item on any siding system, including Hardie
- Address moss or algae on shaded elevations before it builds up thick enough to hold moisture against the surface
- Keep gutters and downspouts clear so roof runoff isn't dumping extra water onto siding below
- Trim back vegetation that keeps a wall shaded and damp longer than it needs to be
Why Hire a Crew That Already Works Birch Bay and Custer
Coastal siding work isn't a different trade, but it is a different set of judgment calls — which elevations need a drainage gap versus which can go direct-applied, how much flashing overlap a given roof-to-wall detail actually needs, where moss growth signals a bigger moisture issue versus a cosmetic one. A crew that's done this repeatedly in Birch Bay and around Custer has already made those calls on homes with similar exposure, similar wind patterns, and similar wet-season timelines to yours. That's the difference between a siding job that looks right at handoff and one that's still performing correctly ten winters later.
If you're thinking about fiber cement siding for a Birch Bay property, we're happy to walk the house, point out what your specific exposure is doing to the current siding, and give you a straight answer on scope and cost. Reach out for a free, no-pressure estimate using the form below.