 Custer
 Siding in Laurel Has to Deal With Water From Every Direction
Laurel sits inland enough from Semiahmoo Bay and Drayton Harbor to feel a little sheltered, but the air here still carries salt, and the rain doesn't come straight down. Whatcom County storms roll in off the water and hit homes sideways, driving moisture into every gap, seam, and fastener hole that isn't sealed correctly. Add the long stretch of wet, shaded months that let moss and algae take hold on north-facing walls, and you've got a climate that is genuinely hard on exterior cladding — harder than most siding products, and most siding crews, are built to handle.
This isn't a page about siding in general. It's about what siding installation actually needs to look like on a Laurel home, given the specific combination of salt-laden air, wind-driven rain, and a moss season that can run half the year.
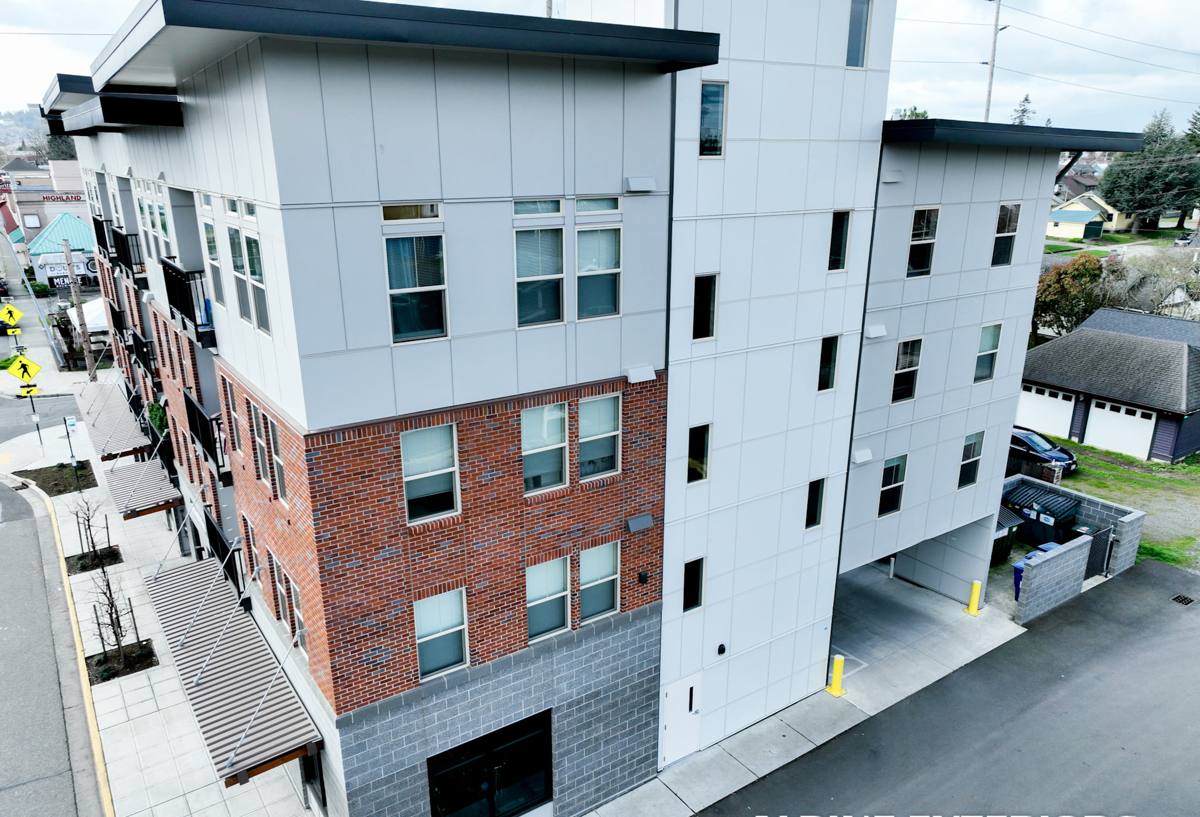
What Local Homes Actually Need From Their Siding
Homeowners in Laurel aren't dealing with the same demands as someone in a dry inland climate. Three things matter more here than almost anywhere else in the state:
Moisture Management, Not Just Water Resistance
A siding product can be "water-resistant" and still fail if the assembly behind it doesn't manage the moisture that gets past the surface. In a climate where driving rain is normal, the weather-resistive barrier, flashing, and drainage plane behind the siding matter as much as the siding itself.
Material That Doesn't Feed Moss and Mildew
Wood-based products give moss and algae something to hold onto and, eventually, something to feed on. In a climate with this much shade and moisture, that's a maintenance problem that never really goes away — it just gets pressure-washed and painted over year after year.
Fasteners and Trim That Won't Corrode
Salt air accelerates corrosion on fasteners, flashing, and trim hardware. Installation details that would be fine forty miles inland — the wrong nail coating, unsealed cut edges, trim screws that aren't rated for coastal exposure — show up as rust streaks and loosened boards years sooner near the water.
What a Correct Siding Installation Involves
Siding installation is one of those jobs that looks the same from the curb whether it's done right or done fast. The difference shows up two, five, and ten years later, in the walls that stay tight and the ones that don't. A correct installation on a Laurel home includes:
- A weather-resistive barrier installed as a continuous, lapped system — not just stapled up and covered over
- Proper flashing at every window, door, and roofline penetration, installed so water sheds outward, not behind the siding
- A drainage gap (often a rainscreen or furring strip system) that lets any moisture that does get behind the cladding drain and dry out instead of sitting against the wall sheathing
- Fasteners installed at the correct spacing, depth, and pattern specified by the manufacturer — not just "close enough"
- Factory-finished panels and trim so cut edges are sealed in the field, not left exposed to soak up water
- Caulking used only where the manufacturer calls for it — sealing every seam actually traps moisture instead of keeping it out
That last point surprises a lot of homeowners. Over-caulking is one of the most common mistakes we see on siding jobs that were installed fast: it looks tidy for a season or two, then traps water behind the boards where nobody can see it happening.
Our Installation Process
1. Assessment and Measurement
We start by walking the exterior, checking the condition of the sheathing and existing water barrier where it's exposed, and identifying trouble spots — north-facing walls with moss buildup, areas with visible fastener corrosion, or trim that's already showing rot. This tells us what's happening behind the old siding before a single board comes off.
2. Removal and Sheathing Check
Old siding comes off in sections so we can inspect the sheathing underneath as we go, rather than finding hidden rot after the new siding is already up. Any soft or water-damaged sheathing gets flagged and repaired before installation continues.
3. Water Barrier and Flashing
This is the step that determines how the wall performs for the next 30-plus years, and it's the step that's easiest to rush. We install the weather-resistive barrier as a continuous, correctly lapped system and flash every window, door, and penetration so water is directed out and down, never behind the barrier.
4. Siding Installation
Panels and trim go up to manufacturer spec — correct fastener type, spacing, and clearance from grade, decks, and rooflines. Clearances matter more here than in drier climates, since standing moisture at the base of a wall is exactly where rot and moss get their start.
5. Trim, Touch-Up, and Cleanup
Cut edges get sealed, touch-up paint is matched to the factory finish, and the site is cleaned up — old material hauled off, fasteners swept from the yard, and a final walkthrough so you know exactly what was done and why.
Why We Only Install James Hardie Fiber Cement
We don't install vinyl, LP SmartSide, primed wood, or cedar, and Laurel's climate is a big part of why. Vinyl can warp and become brittle with age and doesn't hold up to prolonged UV and moisture exposure the way homeowners expect. Wood-based and engineered wood products need consistent, disciplined maintenance to keep moisture out of their edges — miss a year of caulk and paint upkeep in a climate this wet, and you're often looking at swelling or rot rather than a cosmetic issue.
James Hardie fiber cement is non-combustible, doesn't feed moss and algae the way wood-based products can, and comes with a factory-applied ColorPlus finish that's baked on rather than field-painted, which matters when your walls spend months of the year damp. Hardie also engineers specific product lines for high-moisture climates — the HZ10 designation used across western Washington is built around exactly the conditions Laurel deals with: sustained rain, humidity, and freeze-thaw cycling. It's backed by a strong transferable warranty, which matters to homeowners who plan to sell.
We're not going to tell you every other product is worthless — vinyl and engineered wood have real uses and real advantages elsewhere. We've just standardized on Hardie because it's what we're confident holds up on this coastline without becoming a recurring maintenance project for the homeowner.
What Drives the Cost of a Siding Installation
| Factor | Why It Matters in Laurel |
|---|---|
| Home size and wall complexity | More corners, dormers, and trim details mean more flashing and cut work, which takes more time to do correctly |
| Condition of existing sheathing | Hidden moisture damage from years of driving rain sometimes isn't visible until removal — this can add repair cost |
| Siding removal and disposal | Tear-off of old wood or vinyl siding, especially if it's failing, adds labor and haul-away cost |
| Drainage plane / rainscreen system | A proper rainscreen adds material and labor cost but pays for itself in reduced moisture problems long-term |
| Trim and accessory details | Corner boards, window trim, and fascia work are priced separately from field panel installation |
| Color and finish | Factory ColorPlus finishes cost more upfront than field-painted trim but eliminate a repaint cycle |
Exact numbers depend on the specifics of your home, but any honest quote should walk through these factors individually rather than giving you a single number with no explanation of what's driving it.
Why It Matters That We Already Work in Laurel
A crew that's worked this specific stretch of Whatcom County knows things a traveling contractor doesn't. They know which wall orientations get hit hardest by wind-driven rain, which areas see the worst moss buildup, and how salt exposure near the water changes fastener and flashing choices. That local knowledge shows up in small decisions during installation — the kind that don't show up on a quote but show up in how the wall performs ten winters from now.
It also means we're not guessing at permitting or inspection expectations for the area, and we're around after the job is done if a question comes up. A siding job is a long-term relationship with your house, not a one-time transaction, and that's easier to stand behind when the crew doing the work is local.
Signs Your Laurel Home's Siding May Need Attention
- Persistent moss or dark streaking on north- or shade-facing walls that returns quickly after cleaning
- Soft spots, bubbling, or visible warping in the siding surface
- Paint that's peeling or bubbling in patches rather than fading evenly
- Rust streaks below fasteners or trim hardware
- Visible gaps or separation at seams, corners, or trim joints
- A musty smell or visible staining on interior walls that share an exterior wall
None of these guarantee a full replacement is needed, but any of them are worth having looked at before they turn into a sheathing problem.
If you're noticing any of these signs, or you're just planning ahead for a home in Laurel, we're happy to take a look and give you a straightforward, no-pressure estimate — no obligation, just an honest read on what your siding needs. The form below will get you started.