 Custer
 Building New in the Nooksack Area? The Windows Deserve as Much Attention as the Foundation
When you're framing a new home near Nooksack, it's easy to think of windows as a finishing touch — something that gets picked out of a catalog after the bigger decisions are made. In Whatcom County, that mindset causes problems. New-construction windows aren't just glass and frame; they're a structural opening in your building envelope, and how that opening is flashed, sealed, and integrated with your water-resistive barrier determines whether your walls stay dry for the next thirty years or start hiding rot behind the drywall in five.
Custer Siding installs new-construction windows on homes throughout the Nooksack area as part of full siding and exterior envelope projects. We're not a window showroom that subcontracts installation out to whoever's available that week — window flashing and siding integration is core to what we do every day, which matters more here than in drier climates.
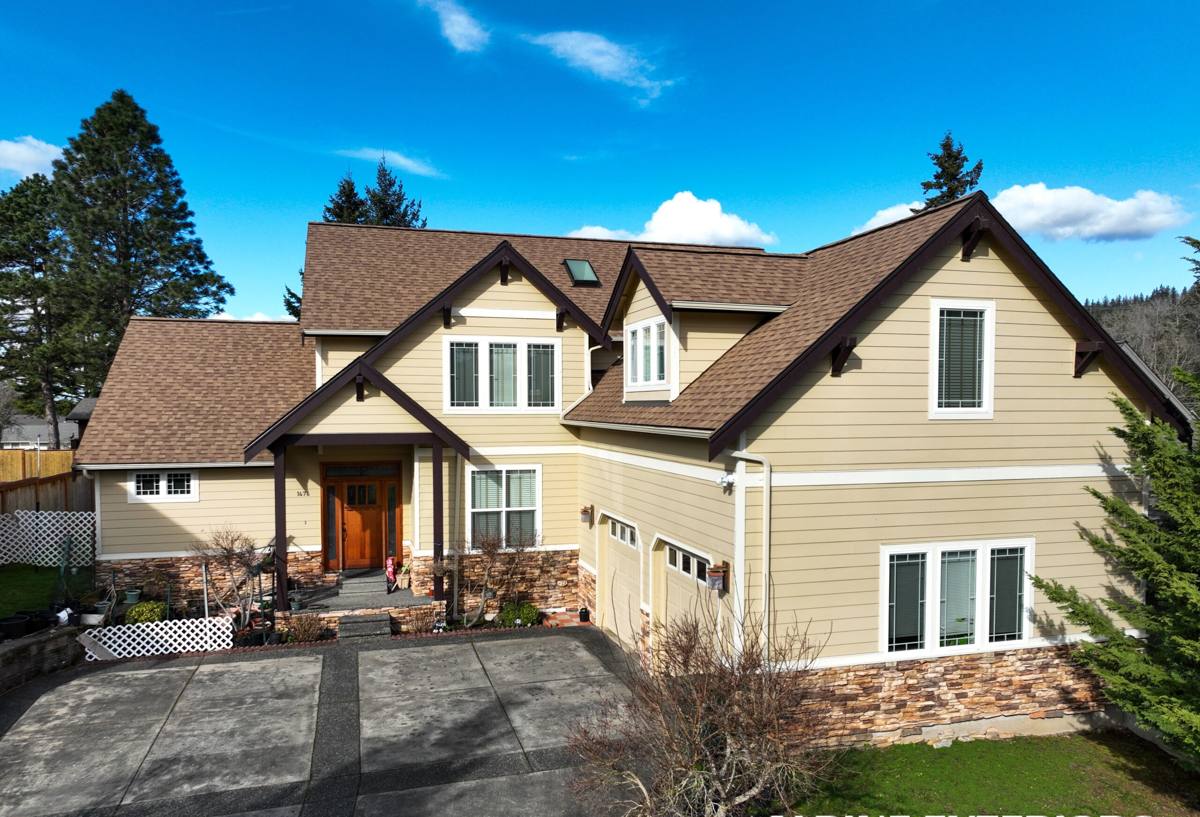
Why Nooksack's Climate Changes the Job
Homes in and around Nooksack sit in a stretch of Whatcom County that gets hit from multiple directions. Salt-laden air moves inland off the Strait of Georgia and Puget Sound, driving rain arrives sideways during winter storms rather than falling straight down, and the long, damp shoulder seasons keep north-facing and shaded wall sections wet for weeks at a time. That combination is exactly what a long moss season needs to take hold — and moss doesn't stay confined to your roof. It creeps onto siding, window trim, and sills, holding moisture against the wall assembly long after the rain stops.
For window installation specifically, this means:
- Wind-driven rain can push water sideways and even slightly upward at window openings, so standard "gravity only" flashing details aren't enough on exposed elevations.
- Salt air accelerates corrosion on unprotected fasteners, hardware, and some metal flashing products if the wrong materials are used.
- Persistent damp conditions mean any gap in the water-resistive barrier around a window opening stays wet longer, giving mold and rot more time to establish before anyone notices a problem.
- Shaded, moss-prone wall areas need sill and trim details that shed water actively rather than relying on periodic sun exposure to dry things out.
None of this means new-construction windows are complicated to get right — it means they need to be installed by someone who treats this climate as the baseline, not the exception.
What a Correct New-Construction Window Installation Actually Involves
It Starts Before the Window Ever Arrives
On new construction, the window opening (the "rough opening") has to be sized, squared, and prepped correctly before installation day. That means checking the opening is plumb, level, and square within tolerance, confirming the sheathing and water-resistive barrier are in place and lapped correctly, and verifying the opening size matches the window's actual dimensions — not just the number on the order sheet.
The Sill Pan Is the Most Important Part Nobody Sees
A sloped, sealed sill pan under every window is non-negotiable in this climate. Its job is simple: if water ever gets past the window itself — through a failed seal, wind-driven rain, or condensation — the sill pan directs that water back outside instead of letting it sit on bare wood framing. We build sill pans with a slight outward slope and integrate them with the wall's water-resistive barrier so there's a continuous drainage path, not a dead-end pocket.
Flashing Sequence Matters More Than Flashing Tape Brand
Proper flashing follows a shingle-lap sequence — sill pan first, then the window's nailing fin, then jamb flashing, then head flashing last, each layer overlapping the one below it so water always sheds outward and downward. Get the order wrong, even with premium tape, and you've built a path for water to travel behind the siding instead of off of it.
Head Flashing Needs a Drip Edge, Not Just a Strip of Tape
Above every window, we install head flashing with a real drip edge that kicks water away from the wall face. On elevations exposed to driving rain, we'll often extend this further or add a small drip cap detail, since a flat strip of flashing tape alone doesn't manage sideways-driven water as well as a shaped metal or rigid flashing component.
Sealants and Fasteners Suited to Salt Air
We use fasteners and flashing components rated for coastal or marine-influenced exposure, and we're selective about sealant chemistry around window perimeters — some sealants degrade faster under UV and salt exposure than others. This is a small line-item decision that has a big effect on how the installation looks and performs a decade from now.
Choosing the Right Window for a Nooksack-Area Build
Frame material affects how a window handles this climate's moisture and salt exposure over time. There's no single "best" choice for every project — it depends on your budget, your home's design, and how exposed the wall is — but here's how the common options compare for this specific environment:
| Frame Material | Moisture & Salt-Air Performance | Maintenance | Typical Fit |
|---|---|---|---|
| Vinyl | Good — won't rot or corrode; seams and welds are the main long-term watch point | Low — occasional cleaning | Budget-conscious builds, rental/spec homes |
| Fiberglass | Excellent — dimensionally stable, resists moisture and salt corrosion very well | Low | Homes wanting durability without wood upkeep |
| Wood, clad exterior | Good on the exterior face if cladding is intact; interior wood still needs monitoring at damp sills | Moderate — watch cladding seams and interior finish | Traditional or high-end aesthetic where wood interior is wanted |
| Aluminum | Fair — conducts cold and can corrode faster near salt air unless properly coated | Moderate | Modern designs, larger glass spans |
Whatever frame material you choose, the installation details above matter more to long-term performance than the brand name on the window itself. A premium window installed with a poor sill pan will fail before a mid-range window installed correctly.
Our New-Construction Window Process
- Rough opening inspection — we verify size, square, and water-resistive barrier integration before any window goes in.
- Sill pan installation — sloped, sealed, and tied into the wall's drainage plane.
- Window set and shim — the unit is leveled, plumbed, and shimmed for proper operation, not just a tight physical fit.
- Fastening per manufacturer spec — nailing fin or flange secured per the window manufacturer's requirements, which preserves the warranty.
- Flashing sequence — jamb flashing, then head flashing with drip edge, each shingle-lapped correctly.
- Interior and exterior sealant — perimeter sealed with climate-appropriate sealant, leaving the manufacturer's specified weep or drainage paths open.
- Siding integration — trim and siding are brought up to the window in a way that sheds water outward, with attention to how moss-prone shaded areas will drain over time.
- Final walkthrough — operation, seal, and appearance checked before we move to the next opening.
Common Mistakes We See — and Why Local Experience Prevents Them
A lot of window callbacks in this region trace back to a handful of repeatable mistakes: skipping or improvising a sill pan, taping flashing in the wrong order, using interior caulk instead of an exterior-rated sealant, or failing to leave weep holes clear so trapped water has nowhere to go. On paper these look like small shortcuts. In a climate with this much sustained moisture and salt exposure, they show up as stained drywall, soft sill framing, or moss creeping into trim joints within a few wet seasons.
Crews that mostly work drier inland climates or handle window installation as an occasional add-on don't always build habits around these details, because their normal conditions are more forgiving. Working Whatcom County and the Nooksack area regularly means we're building for the worst wall — the shaded, north-facing, storm-exposed one — as our standard, not our exception.
Energy Performance on New Construction
New-construction windows also need to meet Washington State's energy code requirements for your climate zone, which sets minimum performance standards for U-factor (heat loss) and, in some cases, solar heat gain. On a new build, this is decided at the design stage and affects glazing type, frame material, and sometimes window sizing on specific elevations. We work within whatever energy targets your builder or energy consultant has set, and can advise on window selection that meets code without over-spending on performance features your home's orientation doesn't need.
Maintenance That Keeps New Windows Performing
Even a well-installed window benefits from basic upkeep, especially in a climate that stays damp this long:
- Rinse salt residue and grime off frames and glass a few times a year, especially on wind-exposed elevations.
- Check that weep holes along the sill track stay clear of debris, pollen, and moss so water can drain as designed.
- Inspect exterior sealant lines annually for cracking or separation, particularly after the first year as materials settle.
- Watch shaded, north-facing windows for early moss or algae growth on trim and address it before it spreads to the sill.
- Test operation and locking hardware seasonally — salt air can stiffen or corrode hardware faster than in drier inland areas.
What Affects Cost on a New-Construction Window Project
| Factor | Why It Matters |
|---|---|
| Number and size of openings | More or larger windows mean more flashing, sealant, and labor per opening |
| Frame material selected | Vinyl, fiberglass, wood-clad, and aluminum carry different material costs |
| Wall exposure | Elevations facing prevailing wind and rain may warrant extra flashing detail |
| Energy code glazing requirements | Higher-performance glass packages cost more but may be required by code or design |
| Coordination with siding installation | Installing windows and siding together as one sequence is typically more efficient than separate trips |
Every new-construction project is different, so we walk the plans and, where possible, the site before giving you real numbers rather than a generic square-footage estimate.
Let's Talk About Your Nooksack-Area Build
If you're framing a new home or planning window openings near Nooksack or elsewhere in the Custer area, we're glad to look at your plans and talk through window selection and flashing details before the siding goes on — that's the point in the build where getting this right actually matters. Reach out for a free, no-pressure estimate using the form below.