 Custer
 Building New in Blaine Means Building for the Water
Blaine sits at the northern edge of Whatcom County, close enough to open water that salt air and wind-driven rain are simply part of the design load on any new home. If you're framing a new build in or around Blaine, the windows you choose and how they're installed will do more to determine your long-term maintenance headaches than almost any other exterior decision. This isn't a climate where you can treat window installation as a generic step in the build schedule. It's coastal, it's wet most of the year, and it grows moss on anything that stays damp for more than a few days.
We're a Custer-based crew that works this stretch of Whatcom County regularly, which means we're not guessing at what holds up here — we're installing windows in the same wind and rain exposure on repeat, season after season.
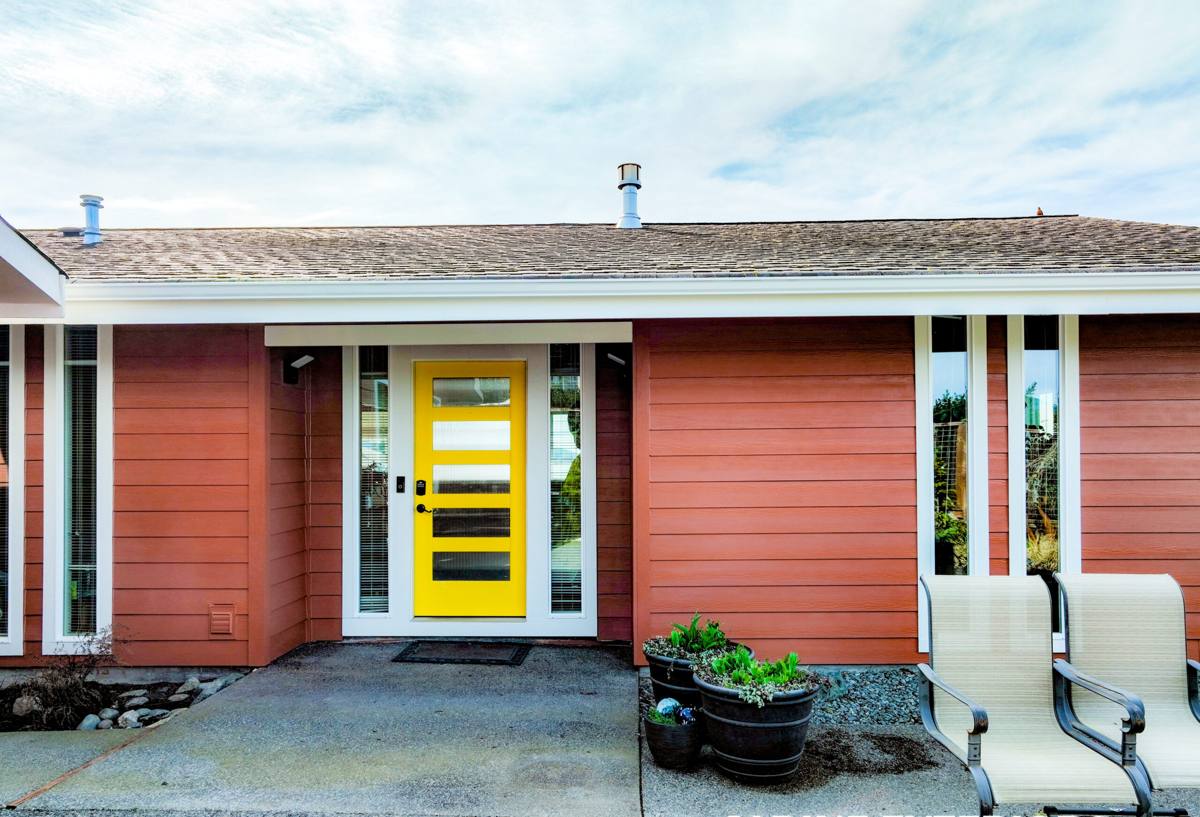
What Blaine's Climate Actually Does to New Construction Windows
Three things drive almost every decision on a new-construction window job out here:
- Salt air — even a few miles inland from the water, airborne salt accelerates corrosion on hardware, fasteners, and lower-grade metal components. Cheap hinges and cranks fail early; exposed steel fasteners streak and stain the siding below them.
- Driving rain — wind off the water doesn't just fall, it pushes. Rain gets forced sideways into any gap in the flashing or sealant that a calmer climate might get away with.
- A long moss season — mild, wet winters and shoulder seasons mean north-facing and shaded elevations stay damp for months. Anywhere water can pool or wick — sills, bottom corners, trim returns — becomes a moss and mildew magnet if it isn't detailed to shed water fully.
None of this means you need exotic materials. It means the ordinary steps — flashing sequence, sealant choice, hardware grade, sill pitch — have to be done right every single time, because this climate finds every shortcut.
What a Correct New-Construction Window Install Involves
New construction gives you one real advantage over a retrofit: the wall is open, so the water management layers can be built correctly from the framing out, instead of patched around an existing window. A correct install, in this order, looks like this:
- Rough opening framed square, plumb, and to the manufacturer's specified tolerance — undersized or racked openings cause installation stress that shows up as operational problems years later.
- Sill pan flashing installed and sloped to drain outward, before the window ever goes in.
- Weather-resistive barrier (WRB) integrated with the flashing in the correct shingle-lap order — jambs, then head, then the WRB lapped over the top flange — so water is always directed down and out, never trapped behind the window.
- Window set, leveled, and shimmed at the manufacturer's specified points, then fastened per that manufacturer's schedule, not a generic pattern.
- Sealant applied only where the manufacturer's instructions call for it — sealing everything, including the bottom flange, is a common mistake that traps water inside the wall instead of letting it drain.
- Interior and exterior trim details finished to shed water away from the frame, especially on any elevation that catches prevailing wind-driven rain.
Skip or rush any one of these steps and the window itself can be excellent quality and still leak, sweat, or stain the wall below it within a couple of winters.
Why the Sill Pan Matters More Here Than Almost Anywhere
In a drier climate, a missing or poorly sloped sill pan might go unnoticed for years. In Blaine's rain exposure, any water that gets past the glazing or trim has somewhere to go immediately — and if there's no pan directing it back outside, it goes into the framing. Sill pan flashing is inexpensive and easy to install correctly during new construction. It's also one of the most commonly rushed steps on production-built homes, which is exactly why it's worth confirming with your window contractor before drywall goes up and it's no longer visible.
Choosing Window Materials and Hardware for Coastal Exposure
Material choice is a real trade-off, not a matter of one product being universally "better." Here's how the common options actually perform in salt air, driving rain, and a long damp season:
| Frame Material | Coastal / Salt Air Behavior | Maintenance Load | Where It Fits |
|---|---|---|---|
| Vinyl | Won't corrode; UV and moisture resistant; welded corners handle wind-driven rain well when installed correctly | Low — occasional cleaning | Most standard new-construction openings; strong value |
| Fiberglass | Excellent dimensional stability in temperature swings; very good rain and salt resistance | Low | Larger openings, higher-exposure elevations, homeowners wanting longer service life |
| Aluminum-clad wood | Attractive exterior, but any breach in the cladding exposes wood to moisture and salt; hardware and seams need real scrutiny | Higher — finish and seams need periodic inspection | Design-driven projects where appearance is the priority and upkeep is accepted |
| Bare wood | Poor fit for direct salt/rain exposure without heavy, ongoing maintenance | High | Sheltered elevations or interiors only, generally not our recommendation on exposed coastal walls |
Hardware matters just as much as the frame. On new builds in this area we push clients toward stainless or coated corrosion-resistant hinges, cranks, and locks rather than standard-grade hardware — the price difference is small, and the difference in five-year performance in salt air is not.
How Windows and Siding Have to Work Together
On a new build, windows and siding aren't separate trades that happen to share a wall — they're one continuous water management system. The WRB, the flashing tape, the siding's weep path, and the window's flange all have to line up in the right sequence, or you get a wall that looks finished but drains water into itself. This is the biggest reason we push for one crew to handle both scopes, or at minimum for close coordination between whoever frames the openings, sets the windows, and hangs the siding.
We see this most often on trim details: siding trim installed before the window flashing is fully lapped and sealed creates a hidden gap that only shows up as a stain or soft spot years later, usually right where moss has already taken hold because the area stayed damp.
Our Process on a Blaine New Build
We work new construction on a schedule set by the framer and GC, not the other way around, but we insist on a few non-negotiables regardless of timeline pressure:
- Rough openings checked for square and size before windows are ordered, not after.
- Sill pan flashing installed on every opening, every time — no exceptions for "it's under roof overhang" or similar shortcuts.
- Manufacturer installation instructions followed to the letter, since deviating from them can void the window's warranty even if the install looks fine.
- Photos taken of flashing and pan details before they're covered by siding or trim, so there's a record if any question comes up later.
- A final walkthrough on operation, weatherstripping, and hardware before we call the job done.
Because we're a Custer-based crew, we're not driving in from out of the area for a single job and leaving. We're back in Blaine regularly, which means if a builder or homeowner has a question six months or two winters later, we're not hard to find.
Cost Factors on New-Construction Window Projects
Every new build is different, but the line items that actually move the price on a Blaine job are consistent:
| Factor | Why It Affects Cost |
|---|---|
| Window count and size mix | Larger units and specialty shapes (bays, arches) take more time and often cost more per unit than standard sliders or single-hungs |
| Frame material | Vinyl is generally the most economical; fiberglass and clad-wood cost more up front but shift the maintenance and lifespan trade-off |
| Elevation exposure | Walls facing prevailing wind and rain justify extra care and time on flashing detail — worth the labor, not worth skipping |
| Access and building height | Second-story and hard-to-reach openings add scaffolding or lift time |
| Coordination with other trades | Tight sequencing with framers and siding crews can save time; poor coordination adds delays and rework |
We give straightforward written estimates broken down by these factors rather than a single lump number, so builders and homeowners can see exactly what's driving the cost.
Checklist: What to Confirm Before Windows Go In
Whether you're a homeowner managing your own build or a GC bringing us in as a sub, these are worth confirming before installation starts:
- Rough openings measured and squared against the actual window schedule, not just the plans
- Sill pan flashing specified for every opening, sloped to drain outward
- WRB and flashing tape compatible with each other and with the window manufacturer's requirements
- Hardware grade specified for coastal/salt exposure, not standard-grade defaults
- Sealant plan that leaves the bottom flange free to drain, not fully sealed
- Written confirmation of who's responsible for flashing integration — window crew, siding crew, or both — before either starts
Why a Crew That Already Works Blaine Is Worth Choosing
Anyone can install a window. Installing one that still performs after several winters of wind-driven rain and salt exposure off Whatcom County's water is a different standard, and it's one that's hard to hit if you don't already work this specific stretch of coastline. We know which elevations in this area take the worst of the weather, which flashing details actually get tested by driving rain rather than just passing a quick inspection, and how fast moss sets in on details that don't shed water cleanly. That's the kind of judgment that only comes from doing this work repeatedly in this specific climate, not from a manufacturer's install guide alone.
If you're planning a new build in Blaine or the surrounding Custer area, we're happy to walk the plans with you or your builder and talk through window and flashing details before framing locks anything in. Reach out for a free, no-pressure estimate — there's a form right below to get started.